Does Trap Position Really Matter?
Some punters ignore the trap draw. The statistics suggest that’s a mistake. Across UK greyhound tracks, the trap a dog starts from has a measurable impact on win rates, and that impact is amplified at specific venues where the geometry of the first bend creates a systematic advantage for certain positions. Trap bias isn’t a theory — it’s a feature of the sport, visible in years of results data and well understood by professional punters, trainers, and bookmakers. Get more race analysis at greyhoundderbyodds.
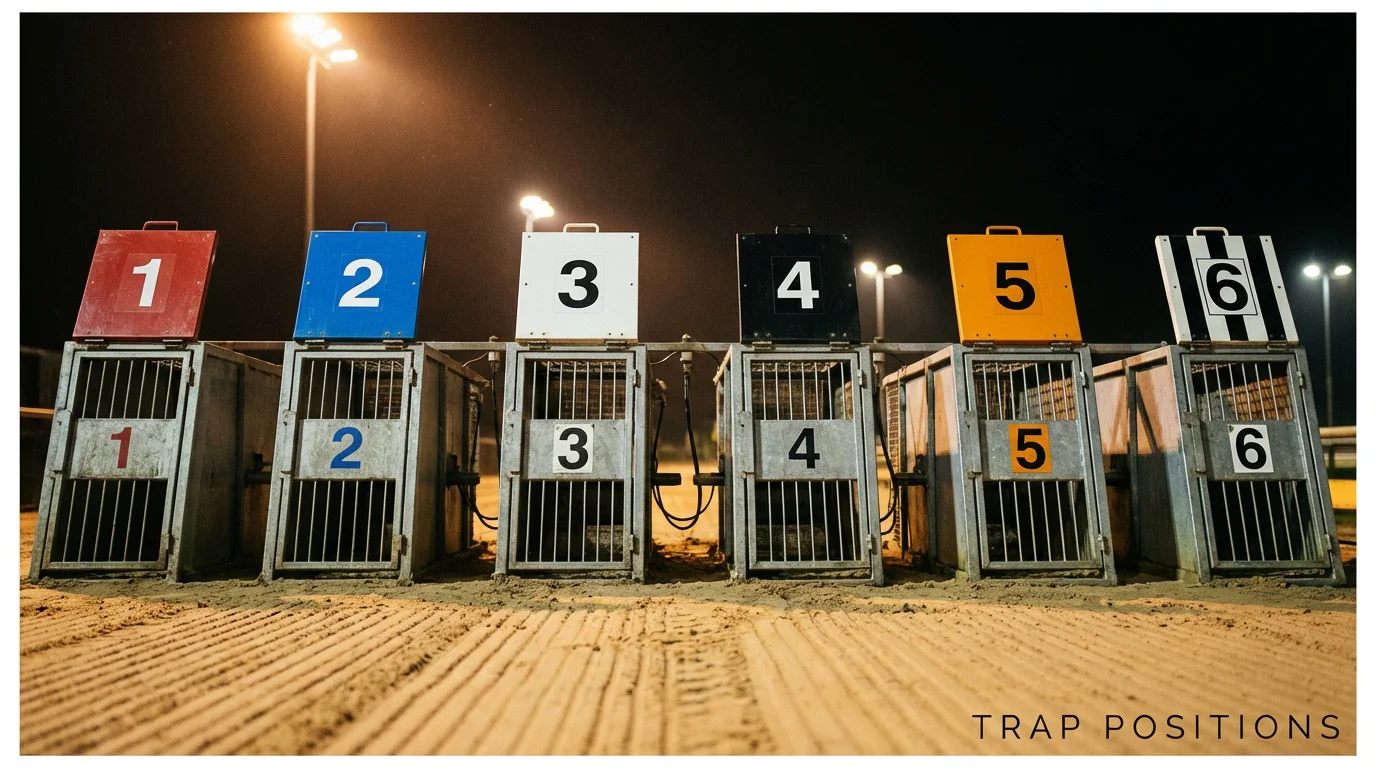
The reason is mechanical. Greyhound racing starts from fixed trap positions — numbered 1 (inside rail) to 6 (outside) in a standard race. When six dogs break simultaneously and converge on the first bend, their starting position determines their racing line. Inside dogs have a shorter route to the bend but risk being crowded by faster-breaking dogs on their outside. Outside dogs have a wider run but can avoid early-bend traffic if they have the pace to hold position. The first bend is where most greyhound races are decided, and the trap draw shapes how every dog arrives at it.
For Derby bettors, trap draw analysis is not optional. The competition uses a draw system that changes each round, meaning a dog that benefited from a favourable trap in the heats might face a completely different situation in the semi-finals. Understanding which traps suit which running styles — and how the Towcester track specifically rewards or punishes certain positions — is a core part of any serious Derby betting approach.
UK Trap Win Percentages by Position
Across UK tracks, Trap 1 and Trap 6 tell very different stories. Aggregated data from GBGB-licensed tracks shows that inside traps tend to produce slightly higher win rates overall, but the pattern varies dramatically by venue. At some tracks, Trap 1 wins more than 20% of races — well above the 16.7% you’d expect if all six traps were equally favourable. At others, it’s the middle traps or the outside that overperform.
National averages offer a rough baseline. Trap 1 typically wins between 17-19% of six-dog races across all UK tracks, benefiting from the shorter route to the first bend. Trap 2 tends to sit close to the expected 16-17% range. Traps 3 and 4 are generally the most neutral positions, hovering near the theoretical average. Trap 5 shows a slight underperformance at most tracks, as dogs here are squeezed between the outside runner’s wider line and the mid-pack scrimmage. Trap 6 is the most variable — at tracks with sweeping first bends and long runs from the traps, the outside draw performs well; at tracks with tight, sharp bends, it underperforms significantly.
These national figures are useful as a starting point, but they mask enormous track-by-track variation. A 17% win rate for Trap 1 nationally might comprise a 22% rate at Romford (a tight, inside-biased track) and a 14% rate at Nottingham (a wider, galloping track). Betting on trap bias without knowing the specific venue is like betting on form without knowing the distance. The data exists — published results from every licensed meeting are publicly available — and serious punters build their own track-specific trap databases or use services that aggregate the figures.
One pattern holds across almost every UK venue: the traps closest to the inside rail (1 and 2) produce the highest combined win rate in sprint races under 400 metres, while middle and outside traps become more competitive as the distance increases. Over the Derby distance of 500 metres, the advantage of an inside draw is less pronounced than in a 270-metre dash, because there are more bends and more opportunities for early-pace disadvantages to be corrected. At 500 metres, the race is long enough for a strong dog from any draw to find its position — provided the first bend doesn’t cost too much ground.
The market accounts for trap bias, but imperfectly. Bookmakers adjust their tissue prices based on the draw, and the on-course starting price reflects punters’ preferences — inside traps tend to attract more money, shortening the price. However, the adjustment is rarely precise. At venues with well-documented biases, the market sometimes overcorrects, making outside draws slightly overpriced relative to their actual disadvantage. At less-studied tracks, the bias may not be fully priced in at all.
Trap Bias at Towcester — Derby-Specific Data
Towcester’s first bend punishes inside runners who break slowly. The track’s configuration — a relatively long run from the traps to the first turn, followed by a sweeping left-hand bend — creates a specific dynamic that shapes Derby racing. Dogs in Trap 1 and Trap 2 have the shortest route to the bend, but they must establish early position or risk being squeezed into the rail by faster-breaking dogs from Trap 3 or 4. A slow-starting railer at Towcester can lose two or three lengths at the first bend and never recover.
The data from recent Towcester meetings over 500 metres shows Trap 1 performing close to the national average — a slight advantage, but nothing dramatic. Trap 2 tends to underperform marginally, partly because dogs in this position face pressure from both sides: the rail runner on their inside and the mid-track dogs on their outside. Trap 3 and Trap 4 are the strongest positions at Towcester over the Derby distance, benefiting from a clear run to the first bend without the rail congestion that affects 1 and 2 or the wide line that costs 5 and 6 extra ground.
Trap 5 at Towcester has a historically low win rate over 500 metres, which is consistent with the pattern seen at many UK tracks — it’s the worst-of-both-worlds position, too wide to benefit from the inside rail but too narrow to use the outside running line effectively. Trap 6 is more interesting. Wide runners with strong early pace can use Towcester’s long run to the first bend to establish position on the outside, and the sweeping turn suits dogs that stay wide through the bend rather than cutting in. The best outside runners in the Derby often come from Trap 6 and maintain that wide line through two bends before challenging on the straight.
For Derby bettors, the key takeaway from Towcester’s trap data is that the middle draws (3 and 4) carry a structural advantage, but running style matters more than raw position. A confirmed railer drawn in Trap 4 is slightly disadvantaged compared to being in Trap 1 — it needs to cross traffic to find the rail. A wide runner in Trap 3 faces a similar mismatch. The best Derby bets factor in whether the draw suits the dog’s natural racing style, not just whether the trap has a favourable win percentage overall.
Matching Running Style to Trap Draw
A railer drawn wide has a problem. An outside runner drawn in Trap 1 has a bigger one. Greyhounds develop consistent running styles — some hug the inside rail, some prefer to run wide, some break fast and lead, others close from behind. The form line tells you what a dog does naturally, and the trap draw determines whether it can do that without interference.
Railers — dogs that run the inside rail throughout the race — perform best from Traps 1 and 2. Drawn there, they can establish their preferred line immediately from the break. Drawn in Trap 3 or 4, they need to work across to the rail during the run to the first bend, which costs ground and exposes them to crowding. Drawn in 5 or 6, a railer faces a near-impossible task: crossing the entire width of the track while five other dogs are converging on the same bend.
Wide runners — dogs that race on the outside of the pack, usually taking a wider line through the bends — have the opposite preference. Trap 5 and Trap 6 allow them to settle into their natural racing line without adjusting. From Trap 1 or 2, a wide runner needs to drift outwards from the break, losing ground laterally and often encountering traffic from dogs on their outside who are holding their own line.
Middle-track runners are the most flexible and the hardest to assess from a trap-draw perspective. These dogs tend to race wherever the space is, adapting their line to the traffic around them. They can perform competently from any draw, which is why they often look overpriced when drawn in an “unfavourable” trap that doesn’t account for their versatility. In the Derby, where the draw changes every round, middle-track runners have a structural advantage over the competition simply because they lose less from a bad draw than a confirmed railer or wide runner does.
Early-pace dogs — those with fast break times and strong trap-to-first-bend sectionals — are less affected by trap draw than slow beginners. If a dog breaks fast enough to lead the field into the first bend regardless of its starting position, the trap draw is partly neutralised. The danger zone is a slow-starting railer from a wide trap, or a slow-starting wide runner from an inside trap. In both cases, the dog is out of position and out of pace when the field hits the first bend, which at Towcester means losing lengths that rarely come back over 500 metres.
How to Factor Trap Position Into Your Bets
Trap draw isn’t everything, but ignoring it means ignoring a free variable. The information is public, the data is available, and the market doesn’t always price it accurately. Here’s a practical framework for incorporating trap position into your Derby betting.
Start by identifying each dog’s running style from its recent form. The form line will tell you whether it typically leads (1st at the first bend), rails (runs the inside), or runs wide. Race comments, available on most form databases and the GBGB results service, add context: “led from trap,” “railed off the bend,” “wide throughout.” Once you know what the dog wants to do, compare that with the trap it’s been drawn in. Alignment between style and draw is a positive signal. Mismatch is a red flag.
Next, check the venue-specific trap data. For the Derby at Towcester, the relevant data set is 500-metre results at that track. National averages are a fallback, but Towcester data should be the primary reference. Look at win rates by trap, but also at place rates — a trap with a low win rate but a high place rate may indicate that dogs from that position consistently run into the frame without winning, which is relevant for each-way and forecast bets.
Finally, adjust your odds assessment. If a dog’s form says it should be 4/1 but it’s drawn in a trap that historically underperforms at Towcester and mismatches its running style, the true probability is lower than 4/1 suggests. If the market hasn’t adjusted — and in greyhound racing, the market often hasn’t — you’re looking at a dog that’s shorter than it should be. Conversely, a dog drawn in a favourable trap with a matching running style that’s still available at 8/1 might represent genuine value, because the market is pricing the dog, not the draw.
The Bend Decides — Position Yourself Accordingly
The best greyhounds overcome bad draws. The rest lose from them. That’s the reality of trap position in greyhound racing — it’s a variable that the elite dogs can neutralise through raw speed and adaptability, but that costs the average dog enough ground to make the difference between winning and finishing mid-pack. In a competition like the Derby, where every qualifier is a high-quality animal and the margins between them are narrow, a bad draw can be the thing that separates the winner from the runner-up. Also read our greyhound trap colours and numbers explained.
Don’t overweight the trap draw. Don’t ignore it either. Treat it as one input alongside form, sectional times, trainer patterns, and the competitive shape of the race. When your form analysis says a dog should contend but the draw is unfavourable, reduce your stake or look for the place angle rather than the win. When the form and the draw align, that’s the moment to back your opinion with confidence. The data is there. Use it.